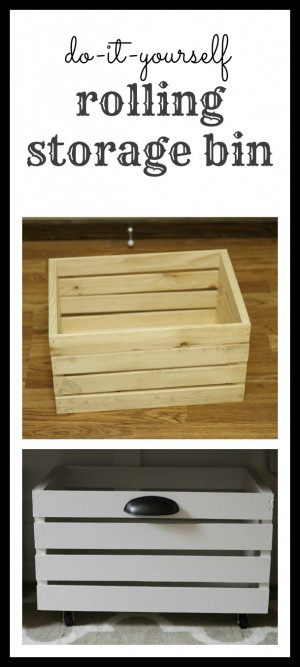
DIY Rolling Storage Bin

We accept been in the midst of transforming our dwelling office into a mudroom for the past month, which partially explains the infrequency of posts over the last few weeks. Since I now take a laptop, our "office" had become nothing more than a dumping ground (remember this postal service?) instead of a functional room. Since it is right beside our garage, we decided to make information technology into a mudroom instead! My married man knocked down a small wall, repaired sheetrock, installed a new door to the garage (as well as the way the door swings) and put up the board and crossbar. My chore has been to paint and decorate. Not a bad merchandise…just it still took me aloooongfourth dimension to get anything done!
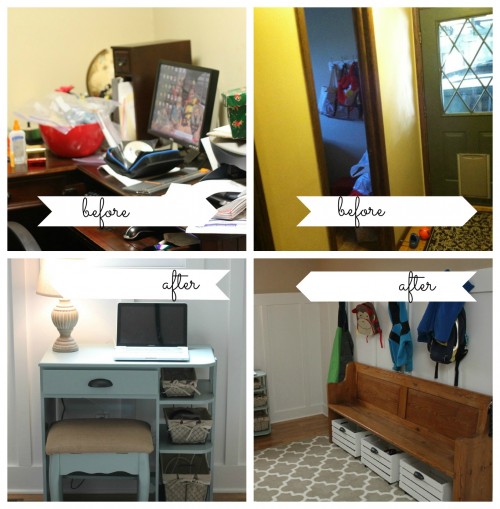
We had originally planned on installing cubbies, just they were going to exist fashiontoo pricey to purchase and modealso fourth dimension consuming for my husband to make himself. I purchased an antique demote/pew from Craigslist and decided we would use that forth with some hooks to achieve the same purpose. Ireallywanted a place to put shoes and other random junk, though, so I wanted to detect a way to add some storage underneath the bench.
I have been admiring rolling storage bins like this and this for some fourth dimension…but they are And so darn expensive. I saw some wooden crates at Habitation Depot the other day for $vii.99 and knew they would make a perfect rolling bin one time I added some casters and a niggling pigment! I normally rely on my handy married man to help me with whatever domicile projects, but this one I tackled all on my own. :)

In total, I spent about $15 on each storage bin (which is less than i/3 of the cost of the store-bought options) after I purchased the crate, casters, screws, washers, and hardware. I used the same primer and paint that we used for the board and crossbar.
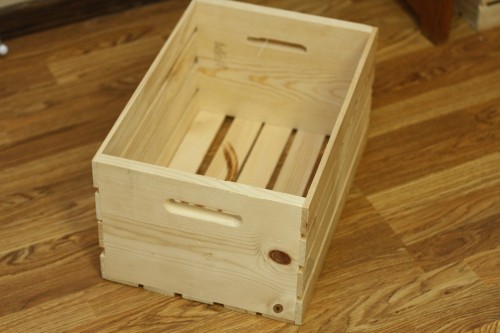
Here'south the wooden crate…
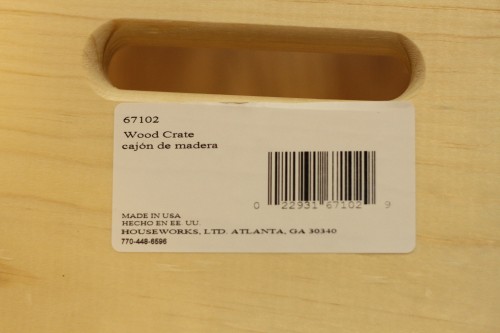
…and the details.
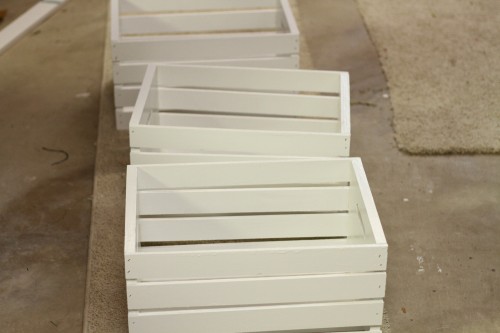
1. Prime and paint each crate. I'one thousand not gonna prevarication, this was a time-consuming process! I used a roller for about of information technology, simply had to utilize a small brush to get between each slat. I primed each side (including the bottom) and then put 2 coats of paint on the exterior of the crate merely.

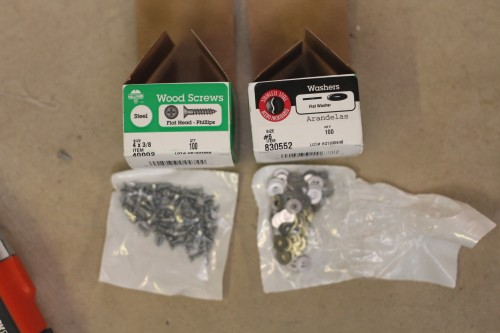
2. Afterward your crates are completely dry out, prepare to install the casters. Because the forest slats were so thin, I had to buy unlike screws (and washers). I used 3/8″ woods screws along with 1 washer for each.

3. Get your casters ready! I purchased 1 1/4 in. roller casters from Lowe's. They were around $three for a pack of 2.
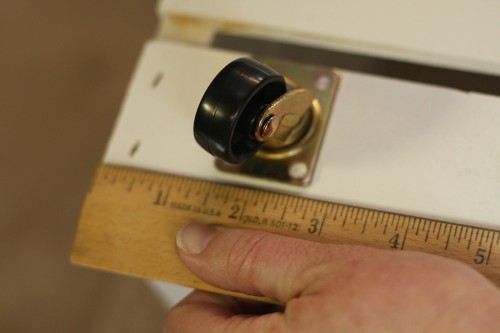
iv. Mensurate and make up one's mind their placement. I didn't want the casters to be very noticeable, so I placed them in one 1/two inches from the edge and all the way to the innermost part of the first slat. You'll do this 4 times for each bin.

5. Screw them in (make sure you use a washer with each screw).
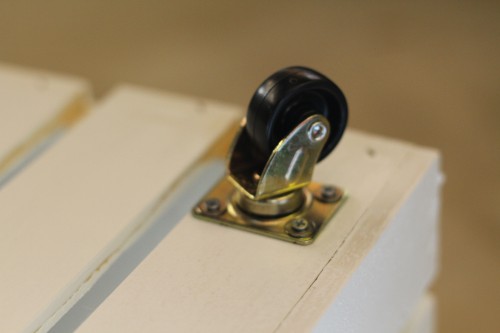
Casters are screwed on and prepare to curl!
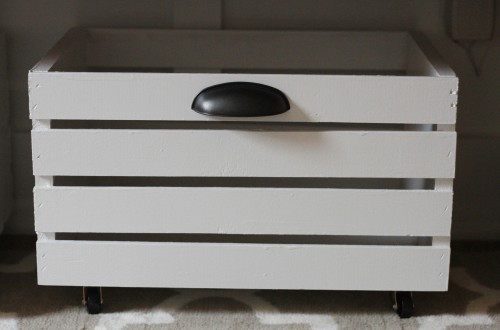
half-dozen. Add some hardware to apparel them upward (I was surprised how much of a difference this made). I used the same pull knobs that we used on the small desk also in the room (they were around $four each).


Finally! Every shoe has a home. :) Equally soon as the boys come in the garage, they yank their shoes off and put them in their own bin. No more rushing around and hunting for shoes in the mornings!
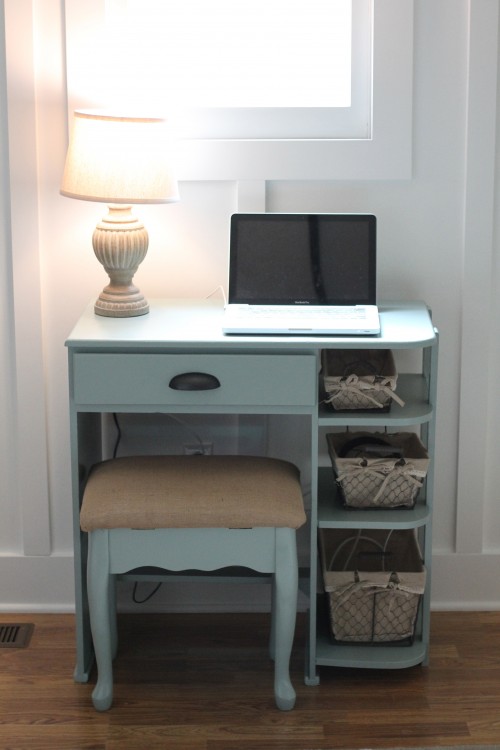
Here is our "new" little desk from my grandmother'south business firm that we painted in Sherwin Williams "Halcyon Light-green" (which is actually more than of a robin'southward egg blue) and added the pull knob. The sewing stool, which happened to fit perfectly with the desk, was given to me several years ago from my mother-in-law (besides painted with the same color and reupholstered with burlap). The lamp is from Target and the baskets are from Hobby Lobby.

The finished production! I thought about taking all the stuff off the wall prior to the picture, merely that wouldn't evidence what itreallylooks like at present, would information technology?
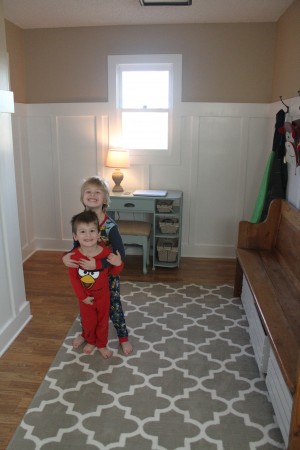
The boys are enjoying the room and then am I! And in instance you're wondering, the rug is from Target. It'southward a little more modernistic that what I would normally choose, but I admittedly love the way information technology looks in the room.
What is your favorite storage solution in your home???
whitesidepilthand.blogspot.com
Source: https://www.icanteachmychild.com/diy-rolling-storage-bin/
0 Response to "DIY Rolling Storage Bin"
Post a Comment